Infusoria is a brilliant food for your baby fish upon being birthed. It is a collective term used for microscopic aquatic organisms that typically reside in freshwater ponds. They are tiny in size and full of beneficial bacteria for fish, making them easily digestible for the small fish fry.

The most effective way of acquiring the culture infusoria is by making it yourself, which is pretty simple if you follow the steps from this guide:
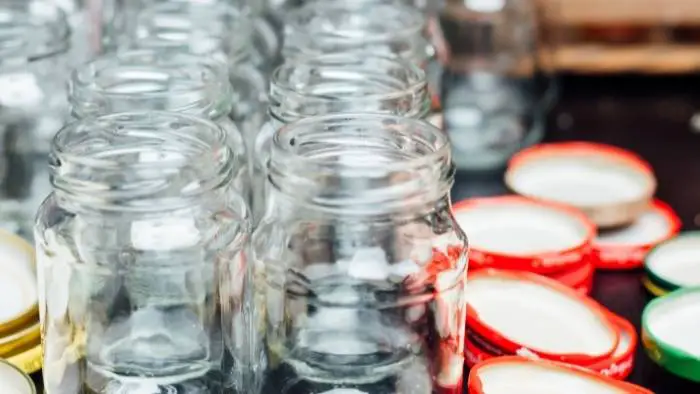
- Acquire a glass jar
- Prepare vegetables
- Add vegetable matter to your jar
- Use boiling water on the vegetables
- Allow the water to cool down
- Add your tank water
- Place the jar in a sunny area
- The jar will become cloudy once the bacteria begin reproducing
- Give the jar a stir on occasion
- Once the water starts to clear the infusoria has grown
- Feed the infusoria to your fry and small fish
Each of these steps has been broken down in more detail below in our guide.
What are the Benefits of Culturing Infusoria?
The infusoria is incredibly beneficial for fry and small fish due to the size and nutritional value it provides for your fish. Infusoria are tiny in size, perfect bitesize food for your fry when they are small.
It also is readily available in the wild for fish such as tetra fry, guppies, and betta fish, which adds a new dimension to their feeding as they will be working for their food.
The last benefit to culturing your own infusoria is that it is totally free of charge (asides from the supplies and a few veggies) and a much less expensive way of feeding your fish live food!
How To Culture Infusoria
Now, let's run through the process of how you can make infusoria from the comfort of your own home. Firstly, you will need to acquire some items:
- 1 empty glass jar
- Some green vegetables such as broccoli, peas, and cabbage
- Boiling water
- Aquarium water
Now that you have all the necessary items, we can discuss the process of creating culture infusoria.
Clean Out the Glass Jar
You must make sure that you give the jar you wish to use a good clean before usage, ensuring that it is cleaned and well-rinsed.

Prepare Your Vegetables
As mentioned, you can use many different vegetables, with broccoli being the most successful one based on experience. Once you have got the vegetables, chop them into tiny portion sizes, no more than an inch (2.5cm). If you have opted to go with peas, make sure their shell has been peeled before using them.
Add the Chopped Veggies to Your Jar
You can now add the vegetables to your jar, but you do not want to fill the jar up, in fact, you should only fill up your jar 1/4th full of veggies.
Use Boiling Water
Once the vegetables have been added, you should boil water and fill the jar up 1/3rd of the way, avoiding burning yourself or cracking the jar. You can do this by making sure the jar is not cold and by pouring the water in gently.
Allow the Water to Cool Down
Allow the water to completely cool down as it will kill the infusoria in the aquarium water if it is too warm.
Add Aquarium Water
Once the water has cooled down to room temperature, add your own aquarium water to the rest of the jar, filling it up until full. By adding existing aquarium water to the infusoria you will be essentially doubling down on the infusoria as most freshwater aquariums already contain it.
Adding in a small live plant like some java moss is always a good idea too as it is a brilliant source of infusoria!
Allow Direct Natural Sunlight
Now you can place your jar in an area of your home or garden that is constantly exposed to sunlight, windowsills seem to be a favorite among hobbyists.
Wait Until Cloudy Water
Once the jar has been placed, you will need to leave it in the sunlight for around 4 days whilst the water turns cloudy and looks rather disgusting. This indicates that the bacteria population is rapidly increasing.
Stir the Jar
You should stir up the jar about once a day to allow the oxygen exchange and also break up any surface film.
Wait for the Water to Clear
After 4 days the water should start to clear, this is because the infusoria has grown and started eating the bacteria created in the water.
Feed Your Fry!
Once the water is almost clear and the infusoria culture is seemingly booming in population size, it is ready to be fed to your fry or small fish.
Infusoria FAQs
Now that we know how to make infusoria, why not take a look at some frequently asked questions on the organic fry food.
What Does Infusoria Look Like?
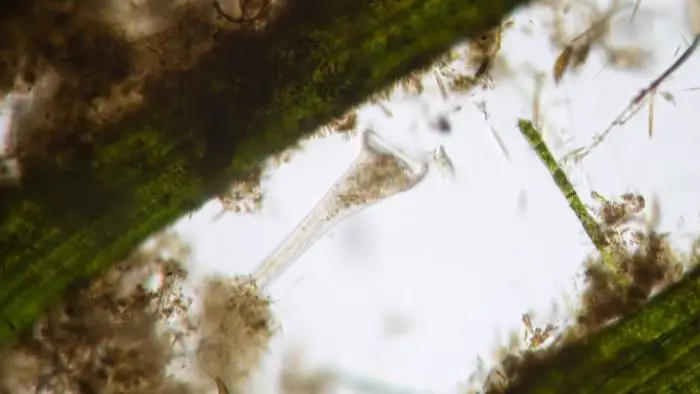
Due to how small they are, infusoria are pretty hard to spot but not invisible. If you start noticing tiny little sea-through specks moving around your jar, then you have yourself some infusoria. Here is what they look like close up:

How Do You Cook Infusoria in One Day?
You simply can't make infusoria in 24 hours, unfortunately. You will need around 10 days from the start to culturing the infusoria, to the time you will be feeding it to your fish.
Can You Feed Infusoria to Non-Fish?
Yes, in fact, infusoria is a brilliant food source for an abundance of aquarium creatures. If you have a pregnant ghost shrimp, upon birth you should certainly feed infusoria to the baby shrimp as they are tiny in size and can ingest it easily.
How Long Does Infusoria Culture Last?
Typically, infusoria will last around 7 days, but this is once the population has peaked and is beginning to decline.
Is Infusoria Good For Fish?
It is brilliant for fish but in particular fry and small fish that are too small to ingest some of the larger fish foods. Cultured infusoria is almost essential when you are trying to breed fish and raise fry, increasing your chances of successful breeding tremendously.
